Adding Additional Companies
Learn how to add multiple companies to your PromoPrep account.
If you work with multiple brands or companies and you want to create different calendars for each company, you can do this by creating a new company in PromoPrep.
This works well for holding companies where you oversee different brands across the holding company. Or, if you work at an agency, you can create new accounts for different clients to keep calendars and billing separate.
Each company has its own company settings, calendar view, activity filters, custom fields, integration connectors (ie: Google Analytics connections) and billing settings.
Note
You need an active account set up and be logged as an admin to set up a new company.
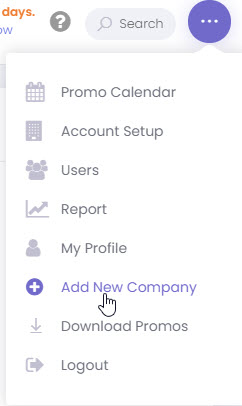
Step 1: From the menu, go to Add New Company:
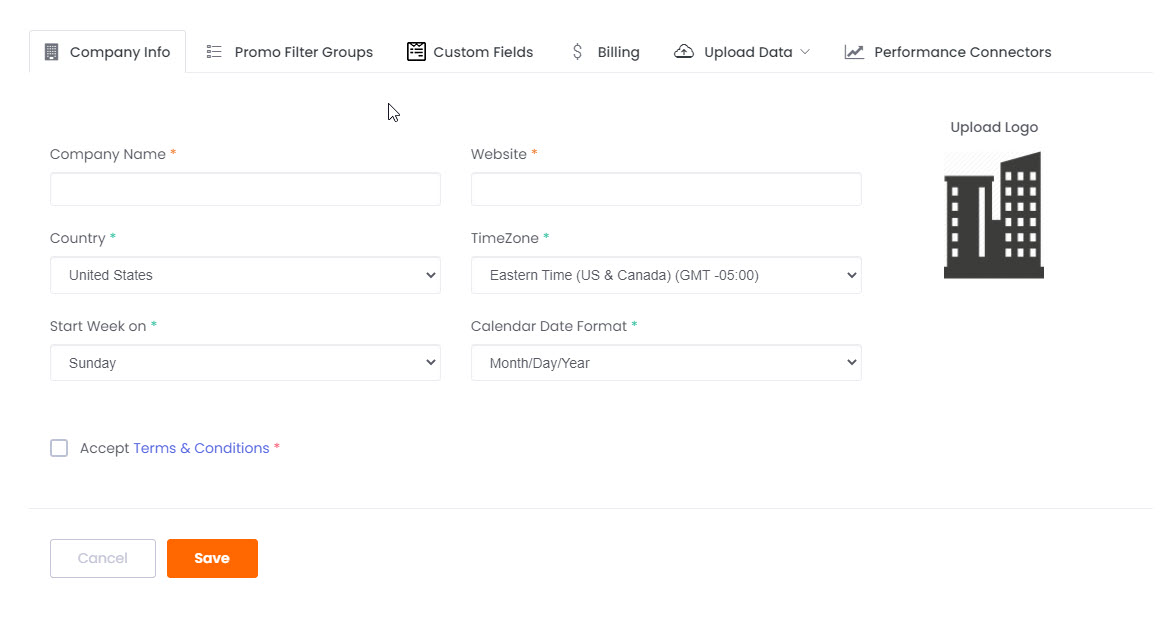
Step 2: Add company details to the company info page and hit Save:
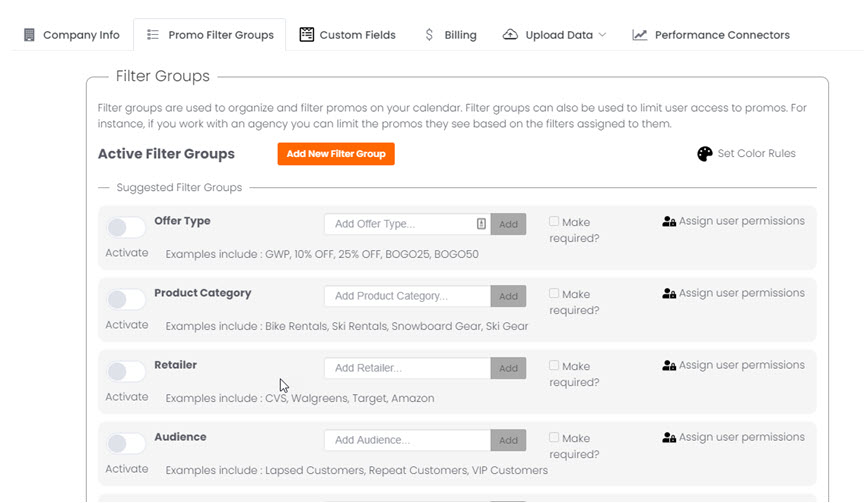
Step 3: Add filter groups, create color rules, and add custom fields for your new company:
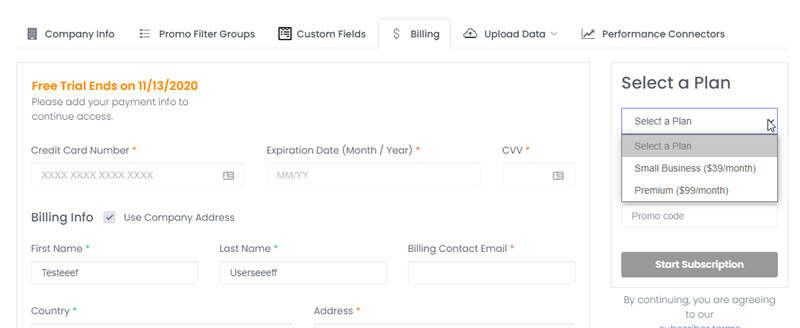
Step 4: Go to the billing tab and select a plan.
Note
Small Business & Premium plans have the same features, but Premium has unlimited users and Small Business has a limited of 3 users.
Once your new company is set up, click on the PromoPrep logo to go back to the calendar.
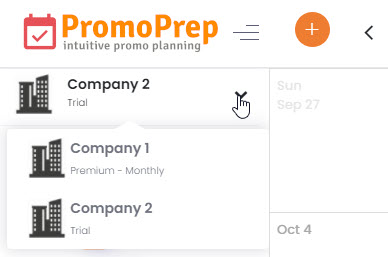
You now have an option to select between companies to change between calendars:
Now that your new company is set up, don’t forget to add new users to your new company. You can change permission levels of each user based on the company they are connected to. Learn more about setting up users here.