Custom Form Fields
Learn how custom fields work and how to add or edit fields on your promo form.
An unlimited number of fields can be added to the promo form to customize for your business. Add fields to capture important details about your marketing activities like promo code, landing pages, media spend and audiences.
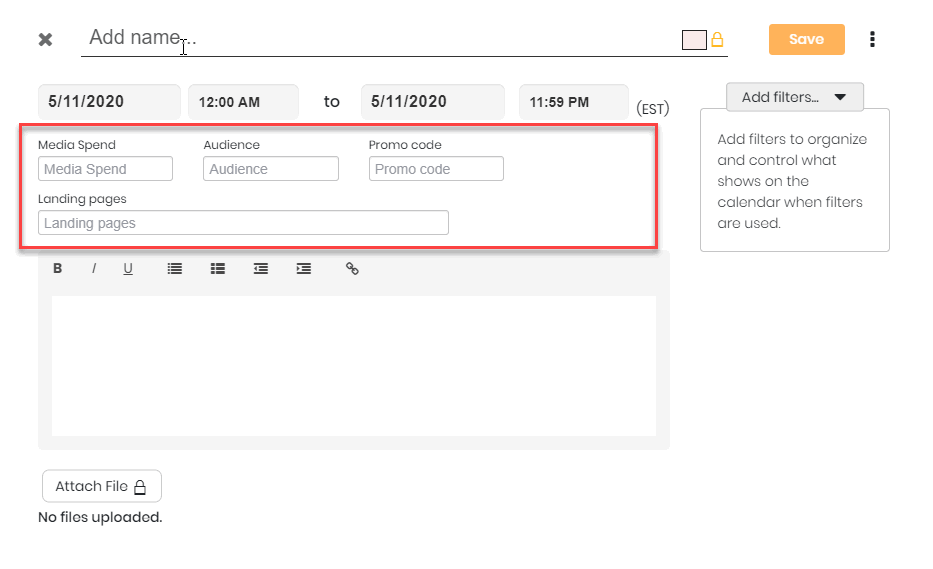
Creating Custom Fields on the Promo Form
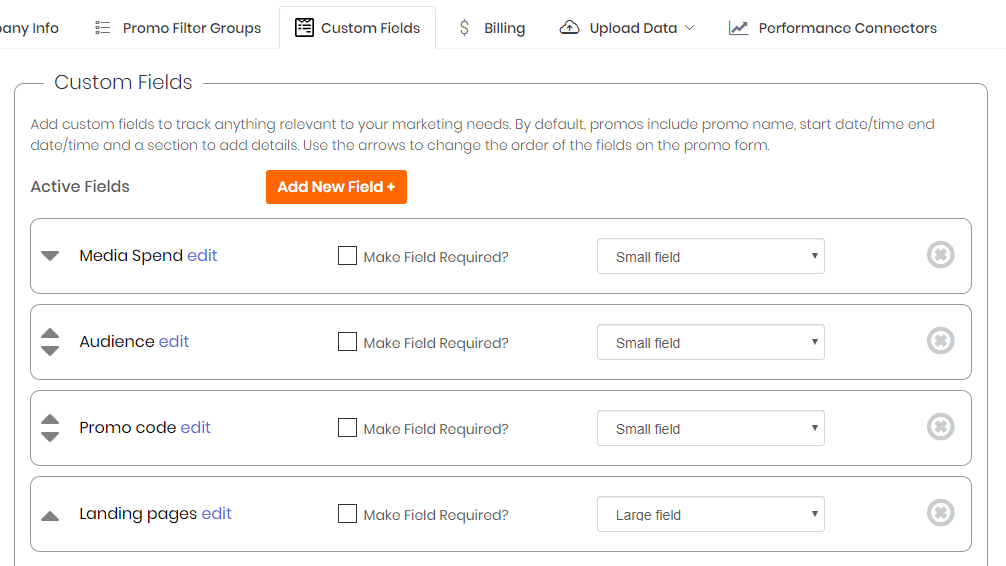
Custom fields can be added during or after account setup. To add or change a promo form field once your account has been created, go to Account Setup > Custom Fields:
Adding Custom Fields
From the Custom Fields tab, select the “Add New Field” button. Once selected, a new field will appear in Active Fields. Enter the name of the field and click Add Field:

Requiring Fields
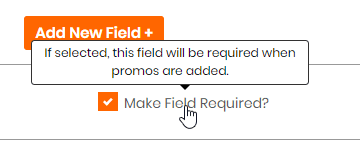
Form fields can be required when users add promos to the calendar. To require a form field, check the box next to “Make Field Required”:
Adjusting Field Size
Adjustments to the size of the field can be made to control how big the field will appear on the promo form.
There are three form field sizes to choose: small, medium and large. Here is how each size will appear on the promo form:
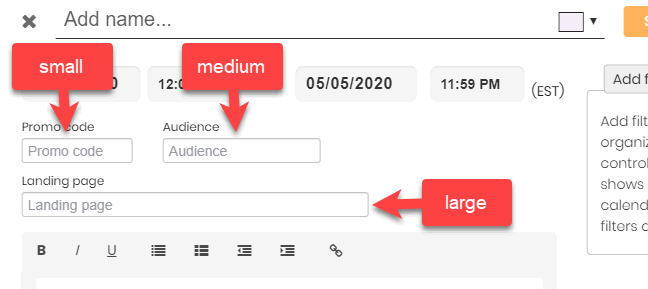
Change the size by using the field size selector:

Change Field Positions
The position the field appears on the promo form can be adjusted.
Use the arrows next to the field to change the position of where the field will appear on the promo form:

Suggested Fields
There are several suggested form fields you can activate like Landing page, Promo code, Audience, and Media spend. To activate a suggested field, click the Activate button:
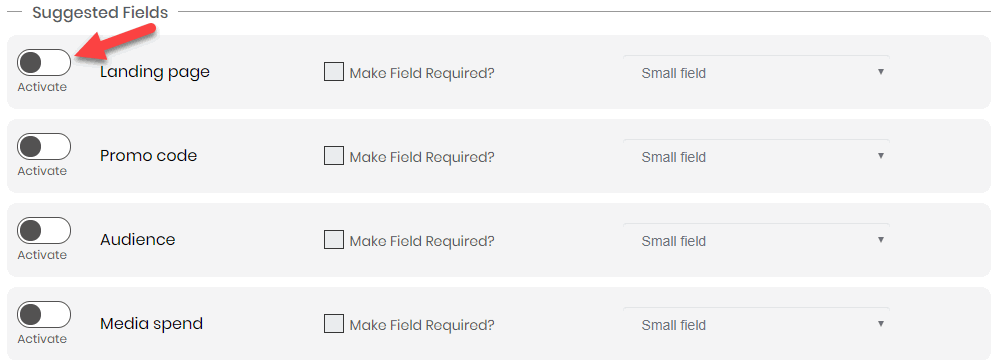
Once activated, adjust the field requirement setting as needed and select the size the field should be on your form.
Deleting Fields
Fields can be deleted from the form by selecting the X next to the field and confirming deletion.
Use extra CAUTION when deleting fields. Once deleted, the data from these fields will be removed from all existing promos.
