Importing Promos
Learn how to bulk upload all of your promos quickly and easily.
Tip
If you have a complicated marketing calendar let us help! We will prep and upload your promo calendar for free. Contact us or chat with our support staff in the chat window in the bottom right of the screen to get started.
To get started, prepare your import file your promo details. This can be done in Microsoft Excel or Google Sheets.
Step 1:
Microsoft Excel: To get started download this xls template and open the file in Microsoft Excel.
Google Sheets: Go to this Google Sheet template. This file is view-only, so in order to make updates, you need to make a copy for yourself and save in your Google Sheets. To do this go to File > Make a copy and click Copy on the window that opens to save a copy to your Google Sheets.
Step 2:
The template contains sample data so you can see how to input your own promo information. Here is a list of fields contained in the template:
- promo name*
- start date* (use the date format matching your company : mm/dd/yyyy or dd/mm/yyyy)
- end date* (use the date format matching your company : mm/dd/yyyy or dd/mm/yyyy)
- start time (12:00am will be used if left blank)
- end time (11:59pm will be used if left blank)
- channels* (separate multiple values with * like this: channel1*channel2*channel3)
- categories (separate multiple values with * like this: category1*category2*category3)
- labels (separate multiple values with * like this: label1*label2*label3)
- types (separate multiple values with * like this: type1*type2*type3)
- promo code
- landing page
- description
Tip
Promo filter groups like channels, categories, labels and types will be automatically added to your account if they are in your upload sheet but do not already exist in your account.
If filter groups already exist in your account make sure you are uploading them with the same spelling or a new filter group will be created and associated promos assigned.
Step 3:
Microsoft Excel: After you add promo details to the template, go to File > Save As and Save your file as a .csv to your computer.
Google Sheets: After you add promo details to the template, go to File > Download > Comma Separated Values (.csv) and Save the file to your computer.
Step 4:
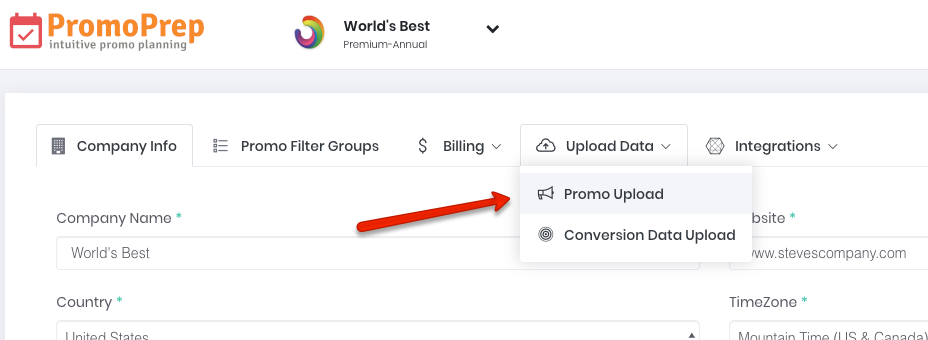
Login to your PromoPrep account and in the top right menu click Account Setup > Upload Data > Promo Upload
Step 5:
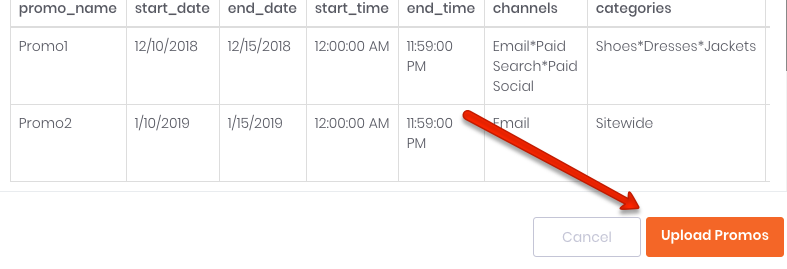
In the window that opens clicks Upload Promos and navigate to the location of the file on your desktop.
Step 6:
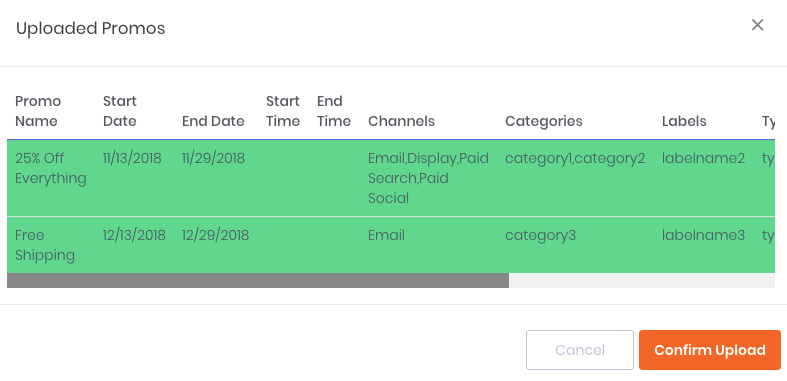
Once the file is uploaded a screen will appear showing the data you are attempting to upload. All rows in green have valid data.
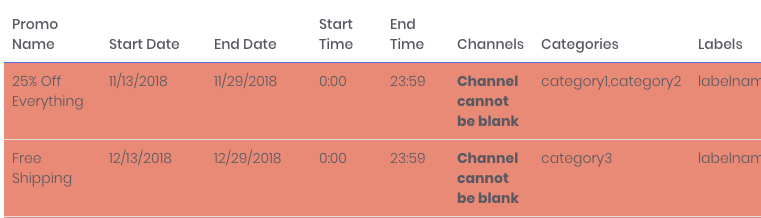
Rows in red have errors and must be fixed in your upload sheet or these rows will not be imported. The error will display in each cell that has an error.
If your file does not contain any errors click Confirm Upload. The system will begin importing your promos which might take some time depending on how many promos you are importing.
Once you receive a confirmation the upload is complete, go to your calendar to see the imported data.
Step 7:
Check your calendar to ensure the promos were imported properly.