PromoPrep Logo
  • How it works
    • Features
      • Capture – Every marketing detail you need in one spot.
      • Performance – GA & Shopify data on your calendar daily.
    • .
      • Organize – Configure your calendar the way you want.
      • Collaborate – Keep things moving with team messaging.
    • See all features >>
      • Alerts – Real-time alerts so everyone stays in-sync.
      • Plan – See last year’s marketing with a single click.
    • Use Cases
      • Email – Plan out every email and share with your team.
      • Content – Visualize your content marketing in one place.
  • Pricing
  • Integrations
    • Google Analytics – Daily revenue overlaid on your calendar.
    • Shopify – Daily sales overlaid on your calendar.
  • Support
    • Help Center
    • Contact us
  • Try Live Demo
    • Login to the Demo >> – Try the PromoPrep demo and see how it works.
    • or…
    • Schedule a demo – Learn more from our support team.
  • Login
Start for Free

PromoPrep Help Center

Generic selectors
Exact matches only
Search in title
Search in content
Post Type Selectors
help-center

  • Other Articles
  • Account Settings
    • Company Settings
    • Users & Permissions
    • User Profile Settings
  • Managing Activities
    • Adding Activities
    • Recurring Activities
    • Importing Activities
    • Activity Labels
    • Custom Form Fields
    • Creating Color Rules
    • Activity Alerts
    • PromoBuzz
    • Downloading Activity
    • Searching for Activities
    • FAQs
  • Using the Calendar
    • Calendar View
    • List View
    • Printing the Calendar
  • Performance Reports
    • Performance Tracking

Help Center » Company Settings

Company Settings

 Create an account and customize your company settings to start prepping.

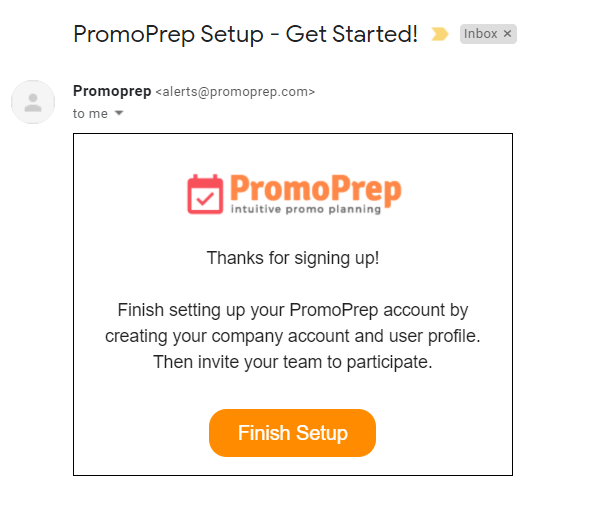
1. Once you sign up from the pricing page, you’ll receive an email linking to PromoPrep.

get-started-email

2. Follow the steps outlined in the automated company account set-up process.

3. As an admin level user, you will have access to the company’s account information, which can be modified after account set-up by clicking on “Account Setup” in the top navigation. This will take you to the Company Info tab:

marketing-calendar-account-setup

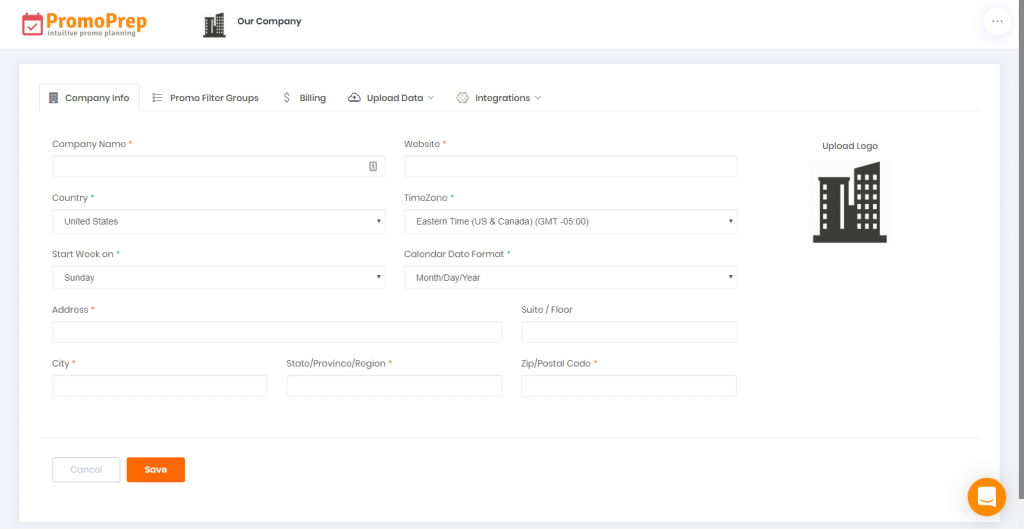
4. The default settings for your account’s time zone, day of the week that the calendar starts, and the calendar date formatting can be adjusted from the Company Info page. To edit what day the calendar begins, select the day of the week from the “Start Week on” drop down menu:

calendar-day-of-week-settings

To adjust the formatting of the calendar dates displayed in your account, by either Month / Day / Year (example: January / 30 / 2025) or Day / Month / Year (example: 30 / January / 2025), select either option from the “Calendar Date Format” drop down menu:

calendar-date-format-settings

You’ll notice these changes in your Calendar and List view, for example when selecting a date range for a List of promos that occur during that timeframe:

marketing-calendar-date-format

If other account level preferences or details about your Company change after account creation, these can also be adjusted via the Company Info tab.

 Tip

Add a brand logo under the Company Info tab of your Account Setup, to make the calendar your own!

Was this article helpful?

  • Features
  • Solutions
  • Integrations
  • Pricing
  • Login
  • Policies
  • Marketing Resources