Company Settings
Create an account and customize your company settings to start prepping.
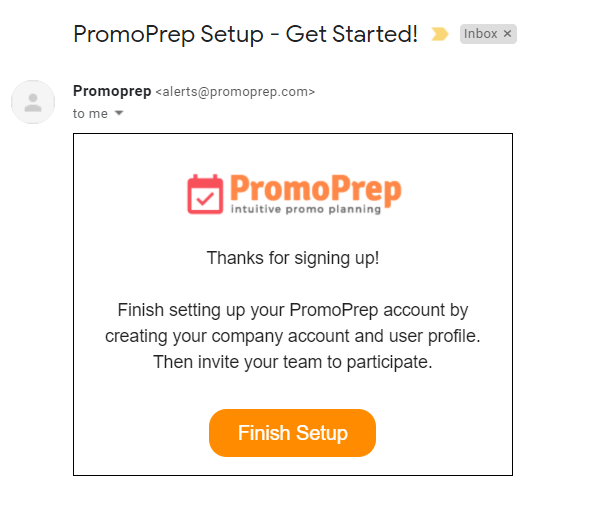
1. Once you sign up from the pricing page, you’ll receive an email linking to PromoPrep.

2. Follow the steps outlined in the automated company account set-up process.
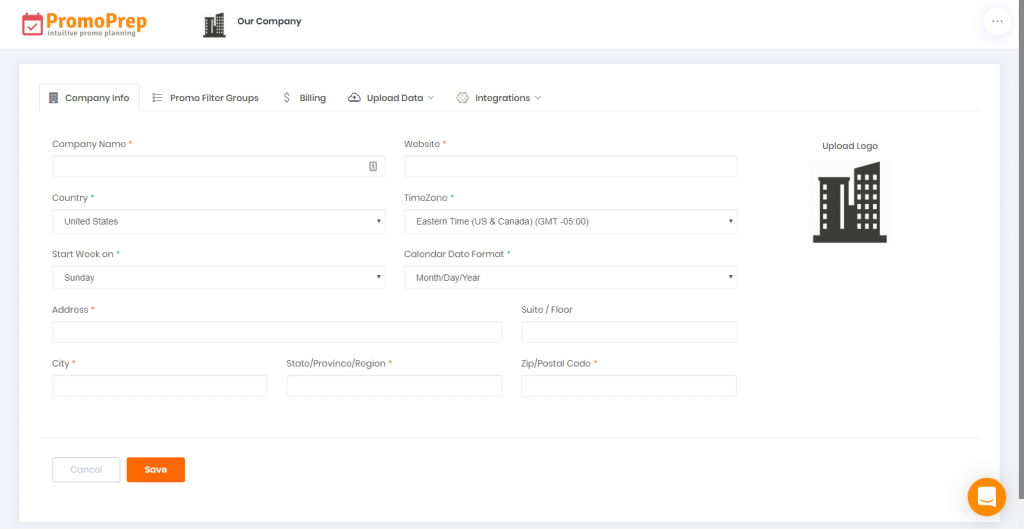
3. As an admin level user, you will have access to the company’s account information, which can be modified after account set-up by clicking on “Account Setup” in the top navigation. This will take you to the Company Info tab:

4. The default settings for your account’s time zone, day of the week that the calendar starts, and the calendar date formatting can be adjusted from the Company Info page. To edit what day the calendar begins, select the day of the week from the “Start Week on” drop down menu:

To adjust the formatting of the calendar dates displayed in your account, by either Month / Day / Year (example: January / 30 / 2025) or Day / Month / Year (example: 30 / January / 2025), select either option from the “Calendar Date Format” drop down menu:

You’ll notice these changes in your Calendar and List view, for example when selecting a date range for a List of promos that occur during that timeframe:

If other account level preferences or details about your Company change after account creation, these can also be adjusted via the Company Info tab.
Tip
Add a brand logo under the Company Info tab of your Account Setup, to make the calendar your own!